CloudShell is very handy for working with Azure and M365, it removes the issues of PowerShell versioning/modules/authentication and is hosted within you Azure infrastructure boundary, providing some mitigation to privileged access and administrator device risks.
When implementing an Azure Virtual Secure Administration Workstation solution I ended up wasting a bunch of time editing files via the Azure CloudShell instead of locally, this resulted in silly typos (due to lack of syntax highlights, error correction and all the other goodness of an IDE like Visual Studio Code.
To solve this issue I want to mount my CloudShell persistent storage locally, enabling me to edit files locally and immediately test in CloudShell, without pushing/pulling and inevitable conflicts between local and remote.
Turns out that this is much easier than expected using
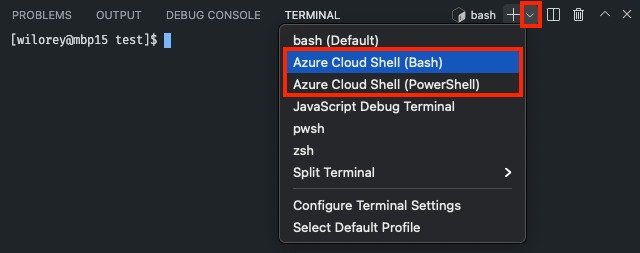
Open Azure Cloud Shell (PowerShell) in VSCode Terminal:
CTRL+SHIFT+P > Terminal: Create New Terminal (With Profile)
If you don’t have NodeJS installed the extension will ask you to install (providing button to click..) the link the extension provided was to an older version of NodeJS and not latest… suggest just using: Node.js (nodejs.org)
Instead I am just using the Azure Extensions Resource Explorer (SHIFT+ALT+A), navigating to the fileshare and selecting files (which opens them in VScode local window)
NOTE: The CloudDrive is not your enitire CloudShell homedir, its ~/clouddrive